UniWave Electric
Thermal relays play a crucial role in protecting electrical equipment from damage due to overheating. Ensuring the correct current setting on these devices is essential for optimal performance. According to recent reports, improper settings can lead to increased failure rates in motors and transformers by up to 30%. Understanding how to adjust the current setting on a thermal relay is vital for any technician or engineer.
Many professionals struggle with the intricacies of these adjustments. The process requires a deep understanding of both the thermal characteristics of the relay and the specific application it protects. Some industry surveys indicate that nearly 25% of maintenance issues stem from incorrect settings on relays. This statistic underlines the importance of proper training and knowledge.
Effective adjustment of the current setting not only enhances equipment reliability but also reduces downtime and maintenance costs. However, technical challenges remain. Misjudgments in settings can lead to nuisance tripping or insufficient protection. As we delve into this topic, a keen focus on best practices and common pitfalls will help improve operational effectiveness in various industries.
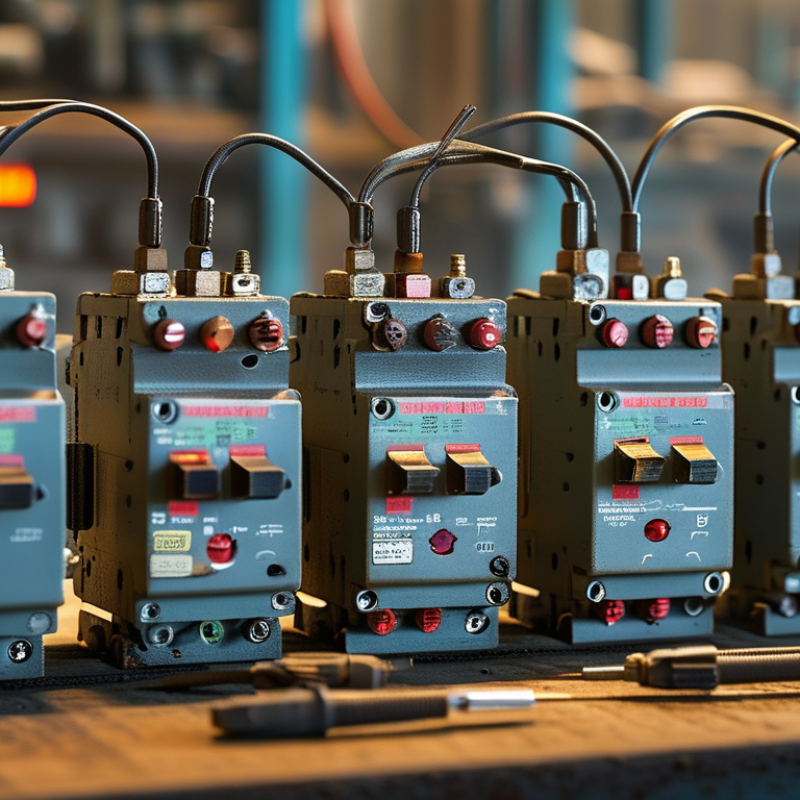
Thermal relays are critical components in electrical systems. They protect motors from overheating by disconnecting power when temperatures exceed safe limits. Understanding their functionality is essential for effective adjustments. A thermal relay operates using a bimetallic strip that bends with heat, triggering the relay. This simple mechanism can save equipment from damage.
When adjusting the current setting on a thermal relay, pay close attention to the specifications of the motor it protects. Ensure the relay's current rating matches the motor's full-load current. Additionally, environmental factors like ambient temperature should be considered, as they affect the relay's performance. If a relay trips frequently, reassess the current setting. It might be too low for your specific application.
Tip: Always consult technical documentation for the relay. This ensures proper setup according to manufacturer recommendations.
Improper adjustments can lead to equipment failure. Test the relay's operation after making changes. Sometimes, repeated adjustments may indicate that the relay itself is faulty or not suited for the application. Regular maintenance of the relay can prevent unnoticed issues.
Tip: Document changes made to the settings. This will help track performance over time and identify patterns in relay behavior.
When working with thermal relays, understanding the current setting parameters is crucial. These devices protect motors and other equipment by sensing temperature changes. A well-calibrated thermal relay can significantly enhance system reliability and longevity. According to industry reports, improper settings account for 30% of equipment failures.
Identifying the correct current setting involves reviewing the relay's specifications. Pay attention to the full-load current rating of the motor. This rating is essential for adjusting the thermal relay properly. Set the relay slightly above the motor's full-load current, typically 10% to 15% above. This range allows for normal starting surges while preventing overheating during operation.
**Tip:** Always consult relevant industry standards when adjusting settings. Each application might have unique requirements.
Further, monitor the thermal relay's performance regularly. Preventive maintenance can help identify adjustments needed to improve efficiency. Sometimes, you may find the settings drift over time due to environmental factors like heat and humidity.
**Tip:** Document all adjustments. Keeping a record helps track changes and their impact over time. This practice can lead to more informed future adjustments.
Adjusting the current settings on a thermal relay can seem daunting. However, a methodical approach can make this task straightforward. Begin by ensuring you have the correct tools on hand. A flathead screwdriver and a multimeter are essential. Safety is paramount. Always disconnect the power supply before making any adjustments.
Next, locate the current adjustment dial on the thermal relay. Many relays have a clear marking for the desired current range. Rotate the dial to set the appropriate value based on the specifications of your equipment. It’s important to consider the load your relay will manage. If you’re unsure, it’s beneficial to consult the manufacturer’s specifications.
Once adjusted, carefully reconnect the power. Monitor the relay's performance during initial operation. Be alert to unusual sounds or heating. These could indicate the current setting needs revisiting. Learning from these observations is crucial for effective adjustments in the future. Sometimes, a slight change can make a significant difference. Don’t hesitate to tweak your settings until optimal performance is achieved.
Adjusting the settings on a thermal relay can be tricky. Mistakes can lead to operational failures or even equipment damage. One common error is not correctly measuring the motor's current. Always use a reliable ammeter. Ensure the measurements are accurate to set the relay correctly.
Another mistake is ignoring the specific application requirements. Different setups may need unique adjustments. Failing to account for the environment or load can result in ineffective protection. Sometimes, technicians rush through these settings. This impatience can lead to oversights that compromise safety and functionality.
Inadequate documentation can also lead to confusion. Without clear notes, it’s easy to forget previous settings or adjustments made. These oversights can result in incorrect calibrations later. Continuous training can help mitigate these mistakes. Familiarity with equipment is crucial. Every setting has its reasoning, and understanding these can make a significant difference.
| Parameter | Recommended Value | Common Mistakes |
|---|---|---|
| Current Setting (A) | 5 - 10 A | Setting too high or too low based on motor rating. |
| Time Delay (seconds) | 2 - 10 seconds | Ignoring manufacturer specs on delay settings. |
| Environmental Conditions | Standard Conditions | Failing to account for temperature and humidity variations. |
| Reset Mechanism | Automatic | Not checking if the reset mechanism is functioning properly. |
| Load Type | Inductive/Resistive | Using wrong relay type for the load type. |
When adjusting the settings on a thermal relay, it’s crucial to test and verify them afterward. This ensures optimal performance and safety within the electrical system. Begin by monitoring the current flow after making adjustments. Use appropriate measurement tools to track changes in real-time. Observe the relay’s response as it engages and disengages under varying loads.
Also, consider the ambient temperature. Thermal relays typically react based on environmental conditions. If external temperatures fluctuate, re-evaluation may be necessary. Confirm that the relay settings accurately correspond to the application’s specifications. It may require multiple tests to achieve ideal parameters.
Remember, the adjustment process is not flawless. You might find discrepancies during testing. Some adjustments may not yield the expected results immediately. Reflect on these outcomes and fine-tune the settings if needed. An iterative approach could enhance the accuracy of the relay, ensuring it operates within safe limits.
: Thermal relays protect motors from overheating by disconnecting power when temperatures exceed safe limits.
A thermal relay uses a bimetallic strip that bends with heat, triggering the relay to disconnect power.
Ensure the relay's current rating matches the motor's full-load current. Environmental factors also play a role.
If a relay trips often, the current setting might be too low for the application. Reassess it.
Test the relay's operation after adjustments. Regular maintenance can prevent unnoticed issues, ensuring reliability.
You'll need a flathead screwdriver and a multimeter. Always disconnect the power supply first for safety.
Listen for unusual sounds or check for excess heating. These signs indicate whether further adjustments are needed.
Yes, documenting changes helps track performance over time and identify patterns that may affect relay behavior.
Yes, it might indicate the relay is faulty or unsuitable for the application. Reflect on the adjustments made.
Consult the specifications for your equipment. Accurate adjustments are crucial for effective operation.
In this article, we explore how to adjust the current setting on a thermal relay, an essential component used in various electrical systems to prevent overheating. We begin by understanding the functionality of thermal relays and identifying the parameters that influence current settings. Following this groundwork, we provide a detailed step-by-step procedure to effectively adjust these settings, ensuring the relay operates within safe limits.
Moreover, we highlight common mistakes to avoid during the adjustment process, which can lead to improper relay functioning. Finally, we emphasize the importance of testing and verifying the adjusted settings to ensure optimal performance, making it clear that a proper adjustment can significantly enhance the reliability and safety of electrical systems. This guide aims to equip readers with the knowledge needed to confidently manage thermal relay settings.
